

SCIM setup for Microsoft Entra ID | Coalesce Documentation
Here is a walkthrough to set up a SCIM app on Microsoft Entra ID to automatically provision users and teams into Catalog.
Please note that this setup requires you to get in touch with a Catalog ops (mailto:[email protected]) to generate and share with you the required SCIM token you will use to login your SCIM app against Catalog’s SCIM API.
1. Creating an Entreprise App
You’ll need a dedicated Catalog Entreprise app in the Azure Portal. It will be used to assign users and teams to provision into the app.
If you already have a Catalog app for SAML login, you can go directly to the second part of this documentation.
First, go to the Enterprise applications list: https://portal.azure.com/#view/Microsoft_AAD_IAM/StartboardApplicationsMenuBlade/~/AppAppsPreview
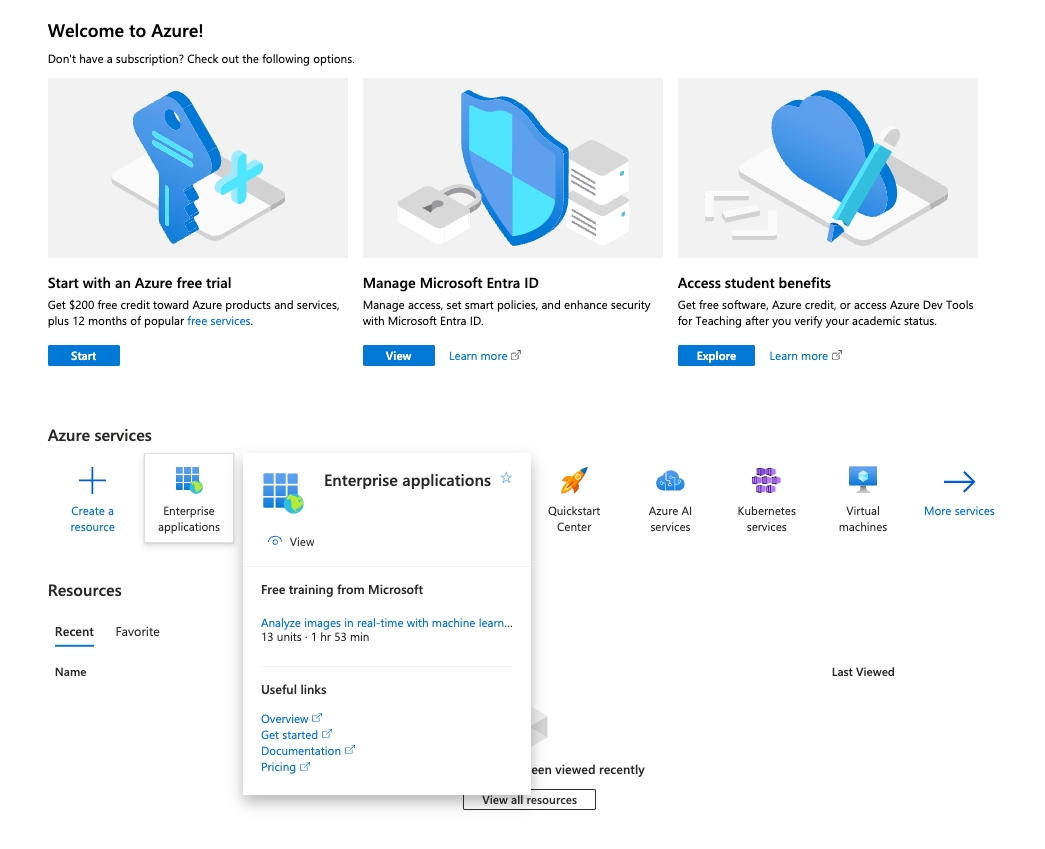
Click on
+ New application
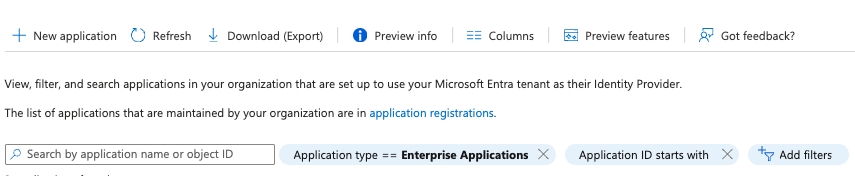
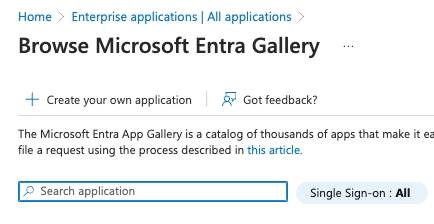
Then
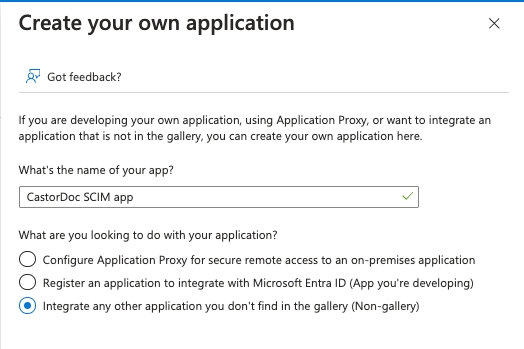
Create your own application
Give it a name and tick
Integrate any other application...
2. Setting up provisioning
Once in the application, go to the
Provisioningmenu entry
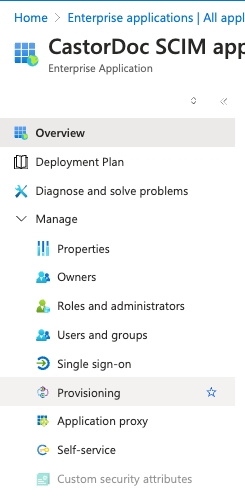
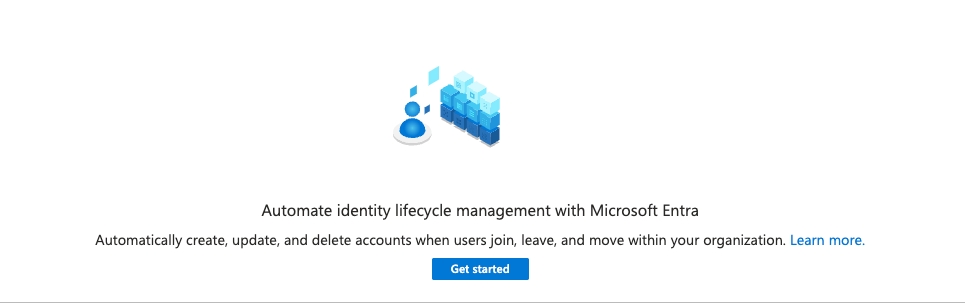
If not already setup, click on
Get started
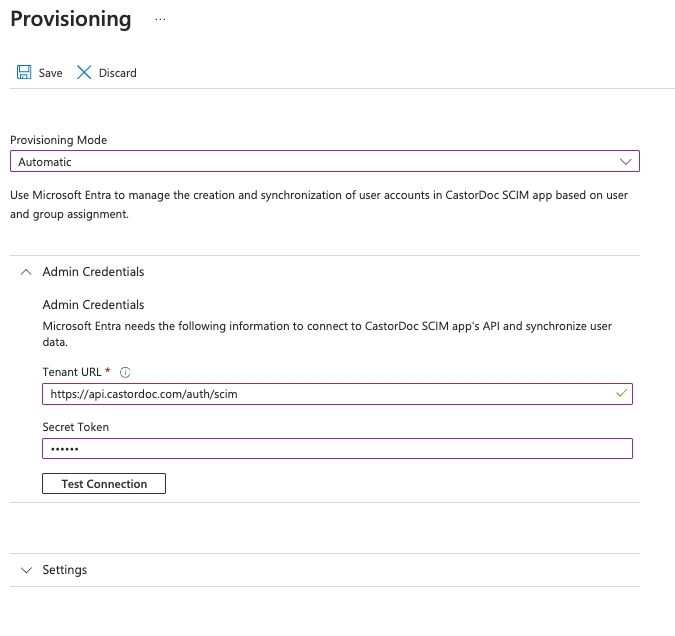
There you’ll setup provisioning infos:
Choose
Automaticprovisioning modeInput Tenant URL as:
https://api.castordoc.com/auth/scimfor accounts usingapp.castordoc.comhttps://api.us.castordoc.com/auth/scimfor accounts usingapp.us.castordoc.com
And the secret token the Catalog’s ops provided you (or reach out to one: mailto:[email protected] or via Slack)
Test the connection, then save
3. Configuring mappings
In this part we’ll craft the mapping between your user and team infos in Microsoft Entra ID and their Catalog accounts.
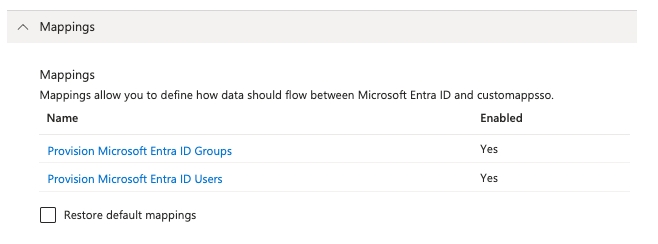
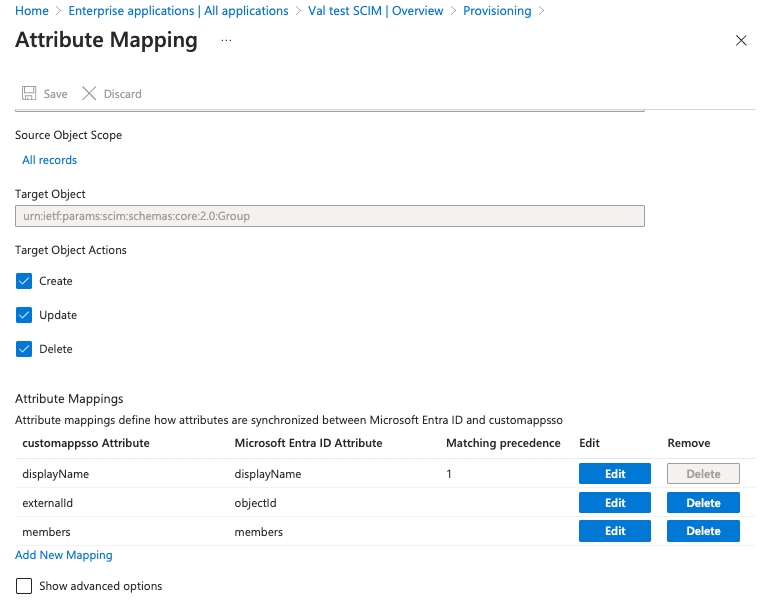
Groups
We need only to keep these 3 fields and no others — theoretically this should be the mapping by default, nothing to touch here.
Users
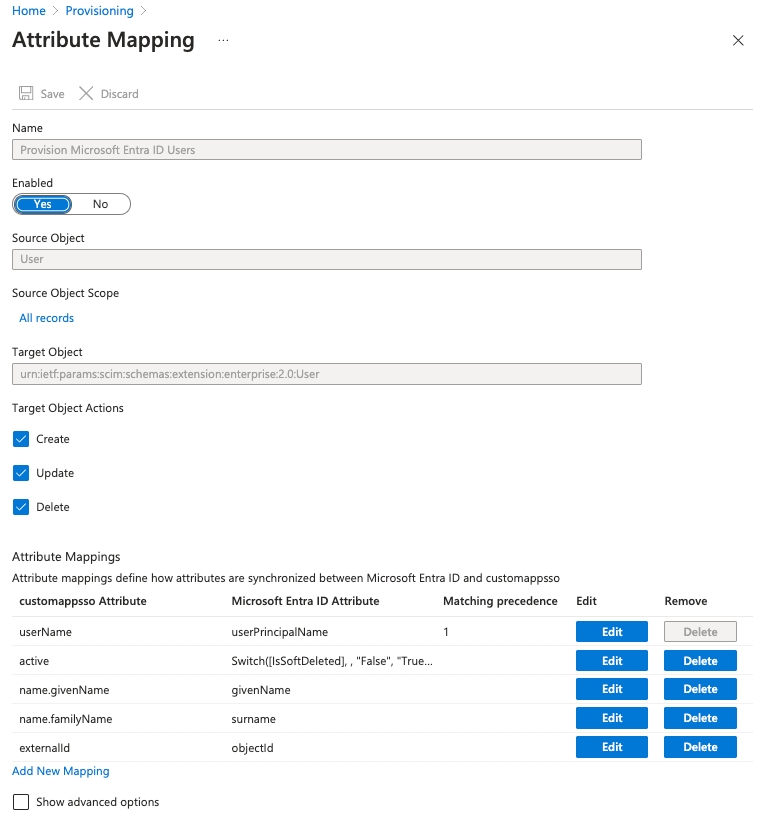
We only use a limited amount of Microsoft Entra ID’s fields in Catalog so we need to refine these attributes list to keep only the ones feeding our SCIM API.
Attributes (4) to keep as default:
userNameactivename.givenNamename.familyName
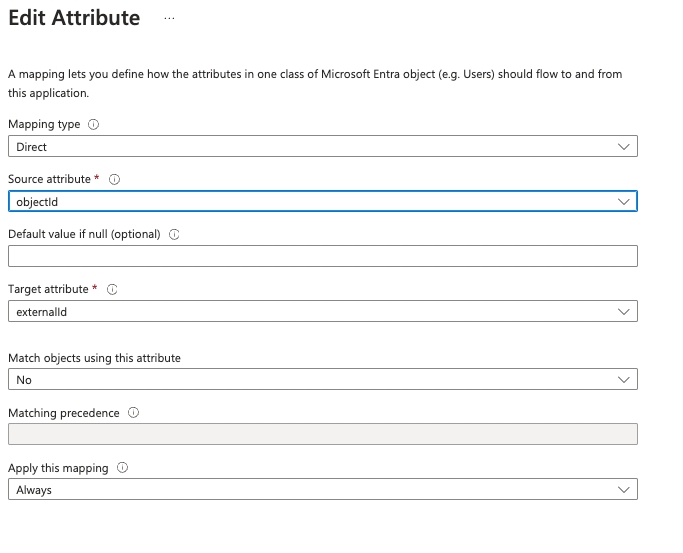
Attribute (1) to edit:
Edit the
externalIdattribute so it matchesobjectIdinstead ofmailNickname
You can then delete all other attributes.
End result should be:
4. Trigger provisioning
Once the mapping updates are done, you can start assigning users and groups that will be provisioned to Catalog.
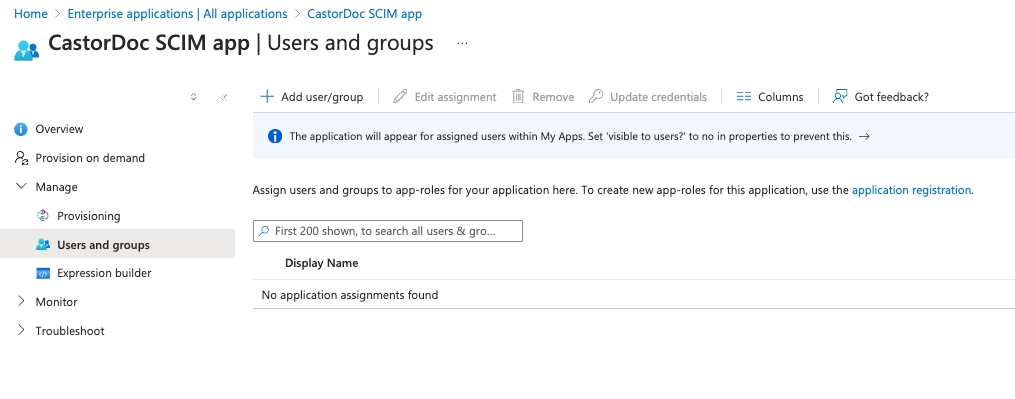
Review groups that can access Catalog app. All users of these groups will be provisioned with a Catalog account.
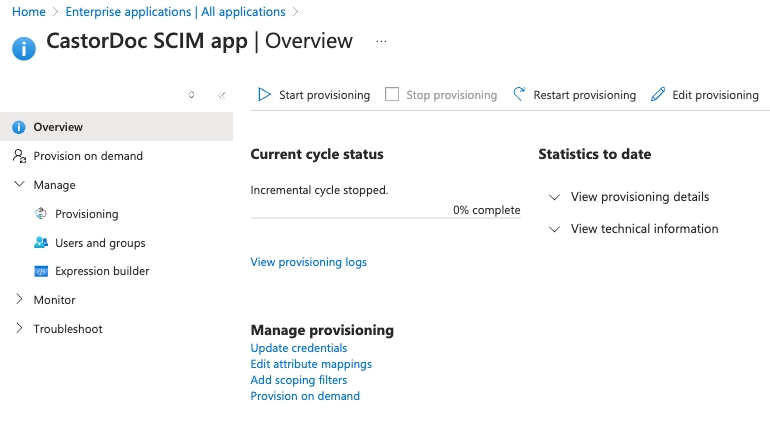
When everything is set up you can start triggering the provisioning from the Overview submenu. It will start importing users and teams into Catalog and every new user and team update will be forwarded to Catalog within the next ~40 minutes.
Troubleshooting
Was this helpful?